
The DIY Diaries: Rental Kitchen Upgrade
Easy, Low-Commitment Upgrades to Turn a House into a Home

The Magic of Peel & Stick.
Welcome back to The Prim Life!
If you’ve been following along, you know life has been a whirlwind for me and my three boys. A few years ago, I found myself navigating a divorce, moving into a rental home, and rebuilding my life piece by piece. Just when I felt like I had found some footing—settling into a new routine, single parenting, and building my business—I faced a second move. Another uprooting. Another scramble to find a place that felt safe, comforting, and, well, home.


I’m not going to sugarcoat it: Moving for a second time REALLY rocked me.
It meant dealing with the stress of packing boxes, updating addresses, and recalibrating my life—again. And for someone like me, who thrives on order and stability, it was tough. More importantly, it meant once more explaining to my kids that we’d be leaving the place they’d started calling home.
I’m a believer in turning lemons into lemonade. I knew I could—and would—do whatever it took to make this new space comforting and a happy place for the boys and me, even if it wasn’t my dream house or had design elements I couldn’t stand.
My mantra became: I might not be able to change everything, but I can change enough to love living here.
So, Here We Are: The Blue Bungalow
My affectionate nickname for this rental, inspired by the color story woven throughout my design choices. It’s a fine house in a competitive real estate market, but like most rentals, it came with its quirks and its fair share of outdated details.
When you rent, you have to be strategic. I wasn’t going to pour money into a home I don’t own, but I also refused to live in a space that didn’t feel like me. More than anything, I wanted my kids to walk through the door and feel home—a place that felt warm, inviting, and ours. Not just another temporary stop, but a space that gave them comfort and stability.
That meant getting creative: focusing on high-impact, low-commitment upgrades that made a real visual difference without requiring a contractor (or my landlord’s approval).

“I wanted my kids to walk through the door and feel home — a place that felt warm, inviting, and ours.”
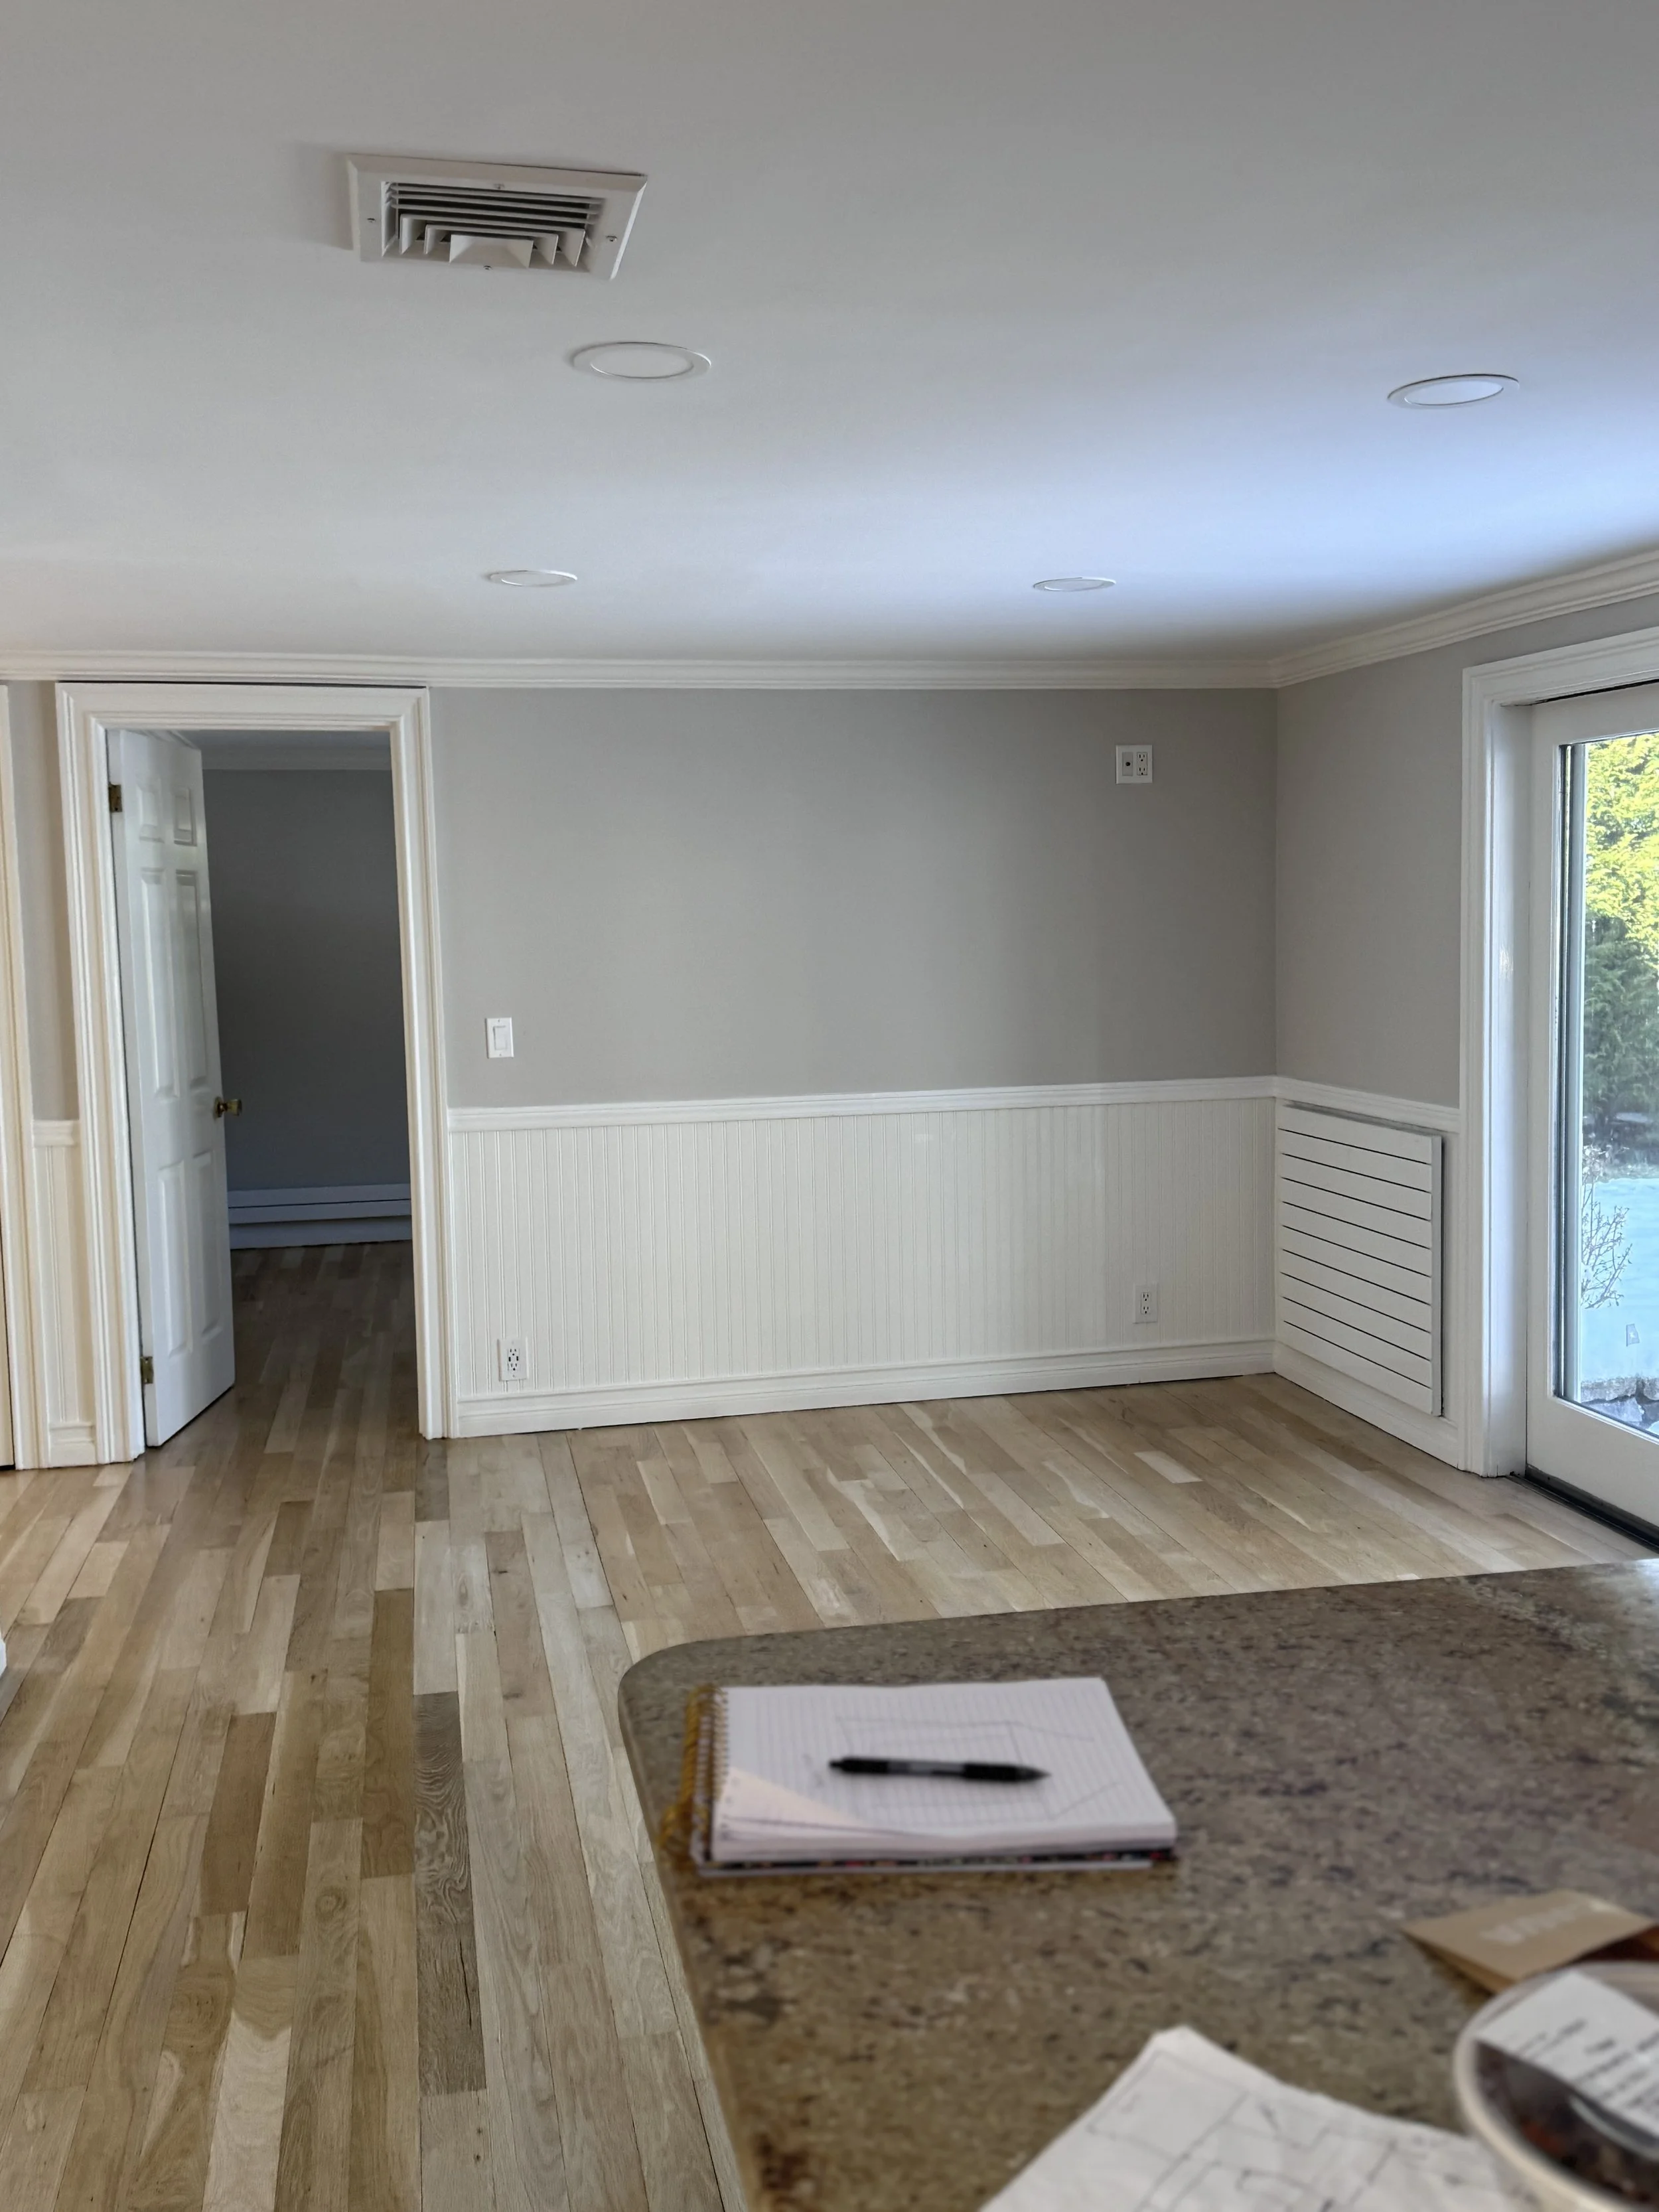
BEFORE


Unchangeable vs Upgradable
the design game plan
Like any rental, there were elements I had to work around—features that weren’t ideal but were non-negotiable. Instead of focusing on what I couldn’t change, I honed in on what I could—small upgrades that would make a big impact.
UPGRADABLE
The Walls—a fresh color story to brighten the space
The Hardware—small swaps for a big aesthetic shift
The Lighting—because good lighting changes everything
The Overall Vibe—bringing in design choices that made it ours
UNCHANGEABLE
The Countertops: a warm-toned granite that dictated the color palette
The Backsplash: A backsplash that wasn’t my style but needed a workaround
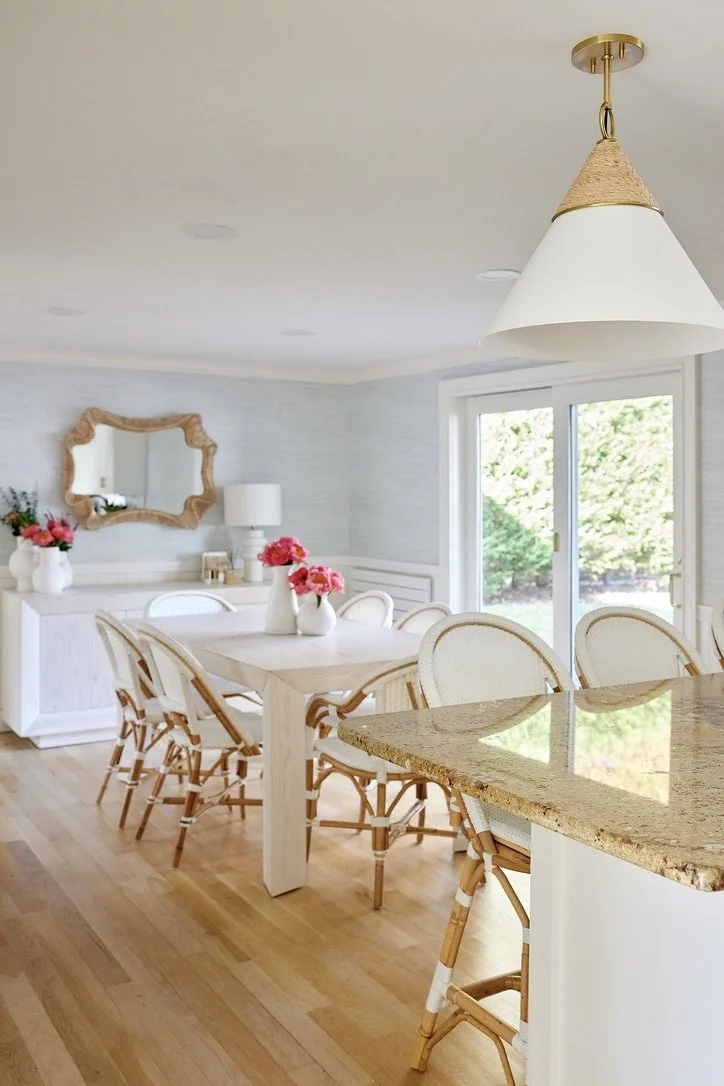
Dining set: my existing dining table, Serena & Lily chairs, and buffet, which had to stay
Layout and Cabinets: A fixed layout and cabinetry—no knocking down walls here
Instead of fixating on the limitations, I focused on where I could make the most impact—without sinking time and money into something I couldn’t take with me when we moved.
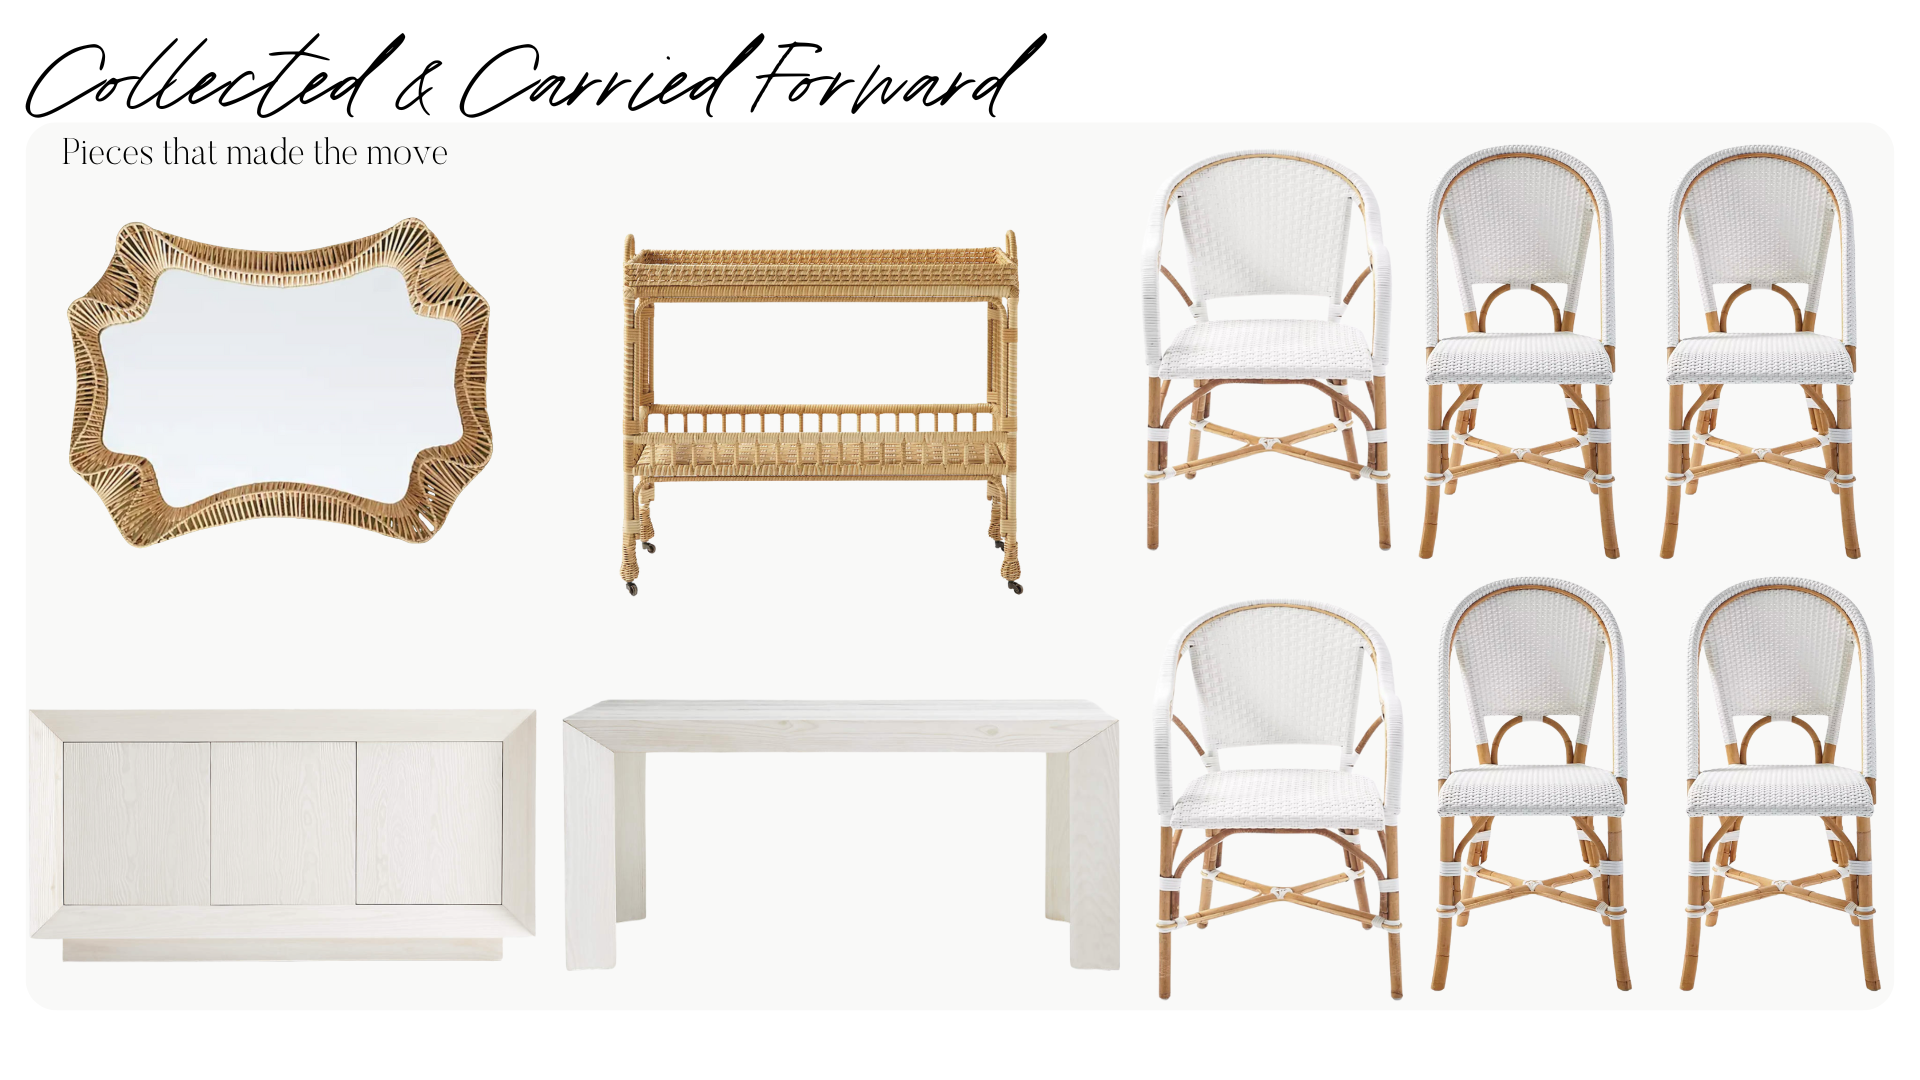
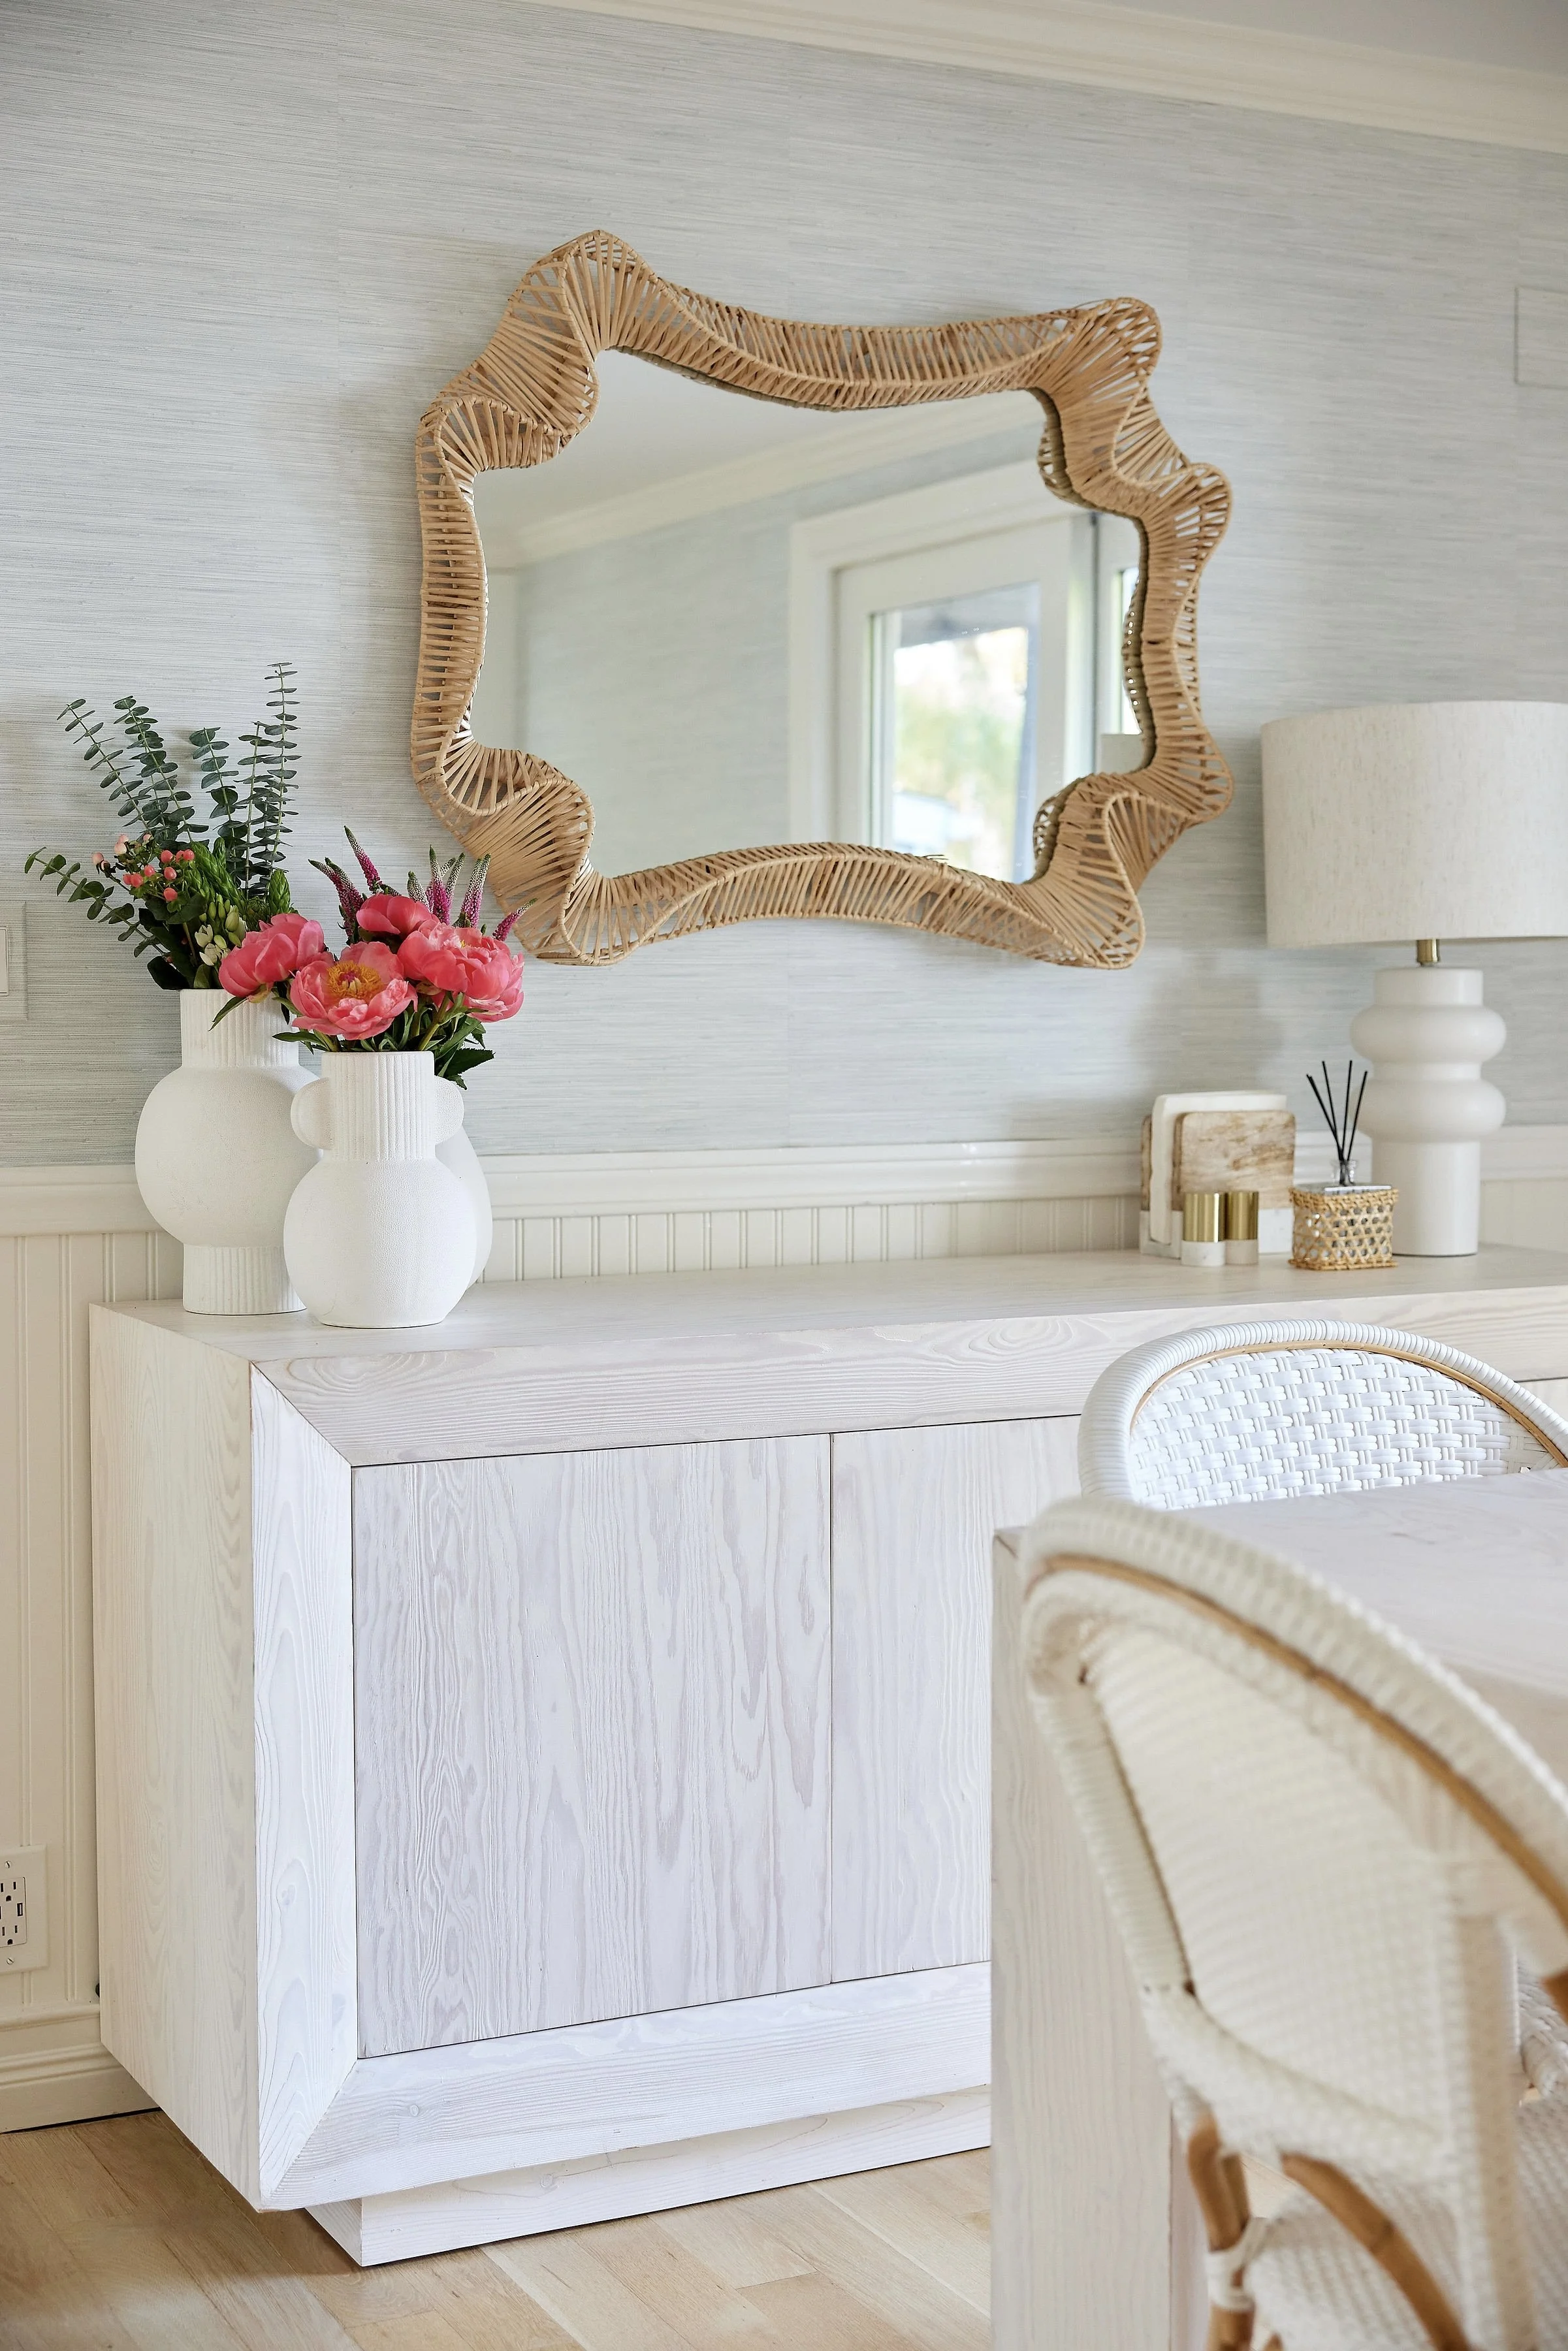
My dining set — including the Serena & Lily Riviera chairs and since-discontinued Crate & Barrel table and buffet— came with us from the last house. These were pieces I already loved and had invested in, so it was important to make them work in the new space.
To make better use of the counter space for my three boys, I added the Serena & Lily Riviera Counter Stools in white with the swivel seat. Like the dining chairs, these stools are sturdy, easy to clean, and hold their value. Honestly, you’ll never regret buying the Riviera chair in any style if you have a family — they’re basically bulletproof. And if you ever decide to switch up your look, someone will snatch them up in a second.
Later, it became clear we needed extra kitchen storage — something clean-looking that wouldn’t compete with the dining set. I turned to my go-to for more temporary furniture needs: IKEA. I added a white BESTÅ unit that felt like it belonged: It’s simple, affordable, and didn’t fight the design.
The BESTA Ikea Unit.

Serena & Lily Riviera Rattan Swivel Counter Stool
Classic, well made, and easy to clean.

“That meant getting creative: focusing on high-impact, low-commitment upgrades that made a real visual difference without requiring a contractor (or my landlord’s approval).”
GET THE LOOK


Kitchen & Dining Makeover: The DIY Highlights

Peel-and-Stick Wallpaper: A Game Changer
When I first walked into this house, the walls felt flat—monochrome and lifeless. I needed something to brighten things up, to pull focus away from the warm-tone granite and outdated backsplash. I wanted the eye to focus on the elements I could control.
Enter peel-and-stick wallpaper—a rental-friendly miracle.
Why Peel & Stick?
No glue, no damage, no stress. Perfect for renters.
Adds personality without a long-term commitment.
Removes easily when it’s time to move on.
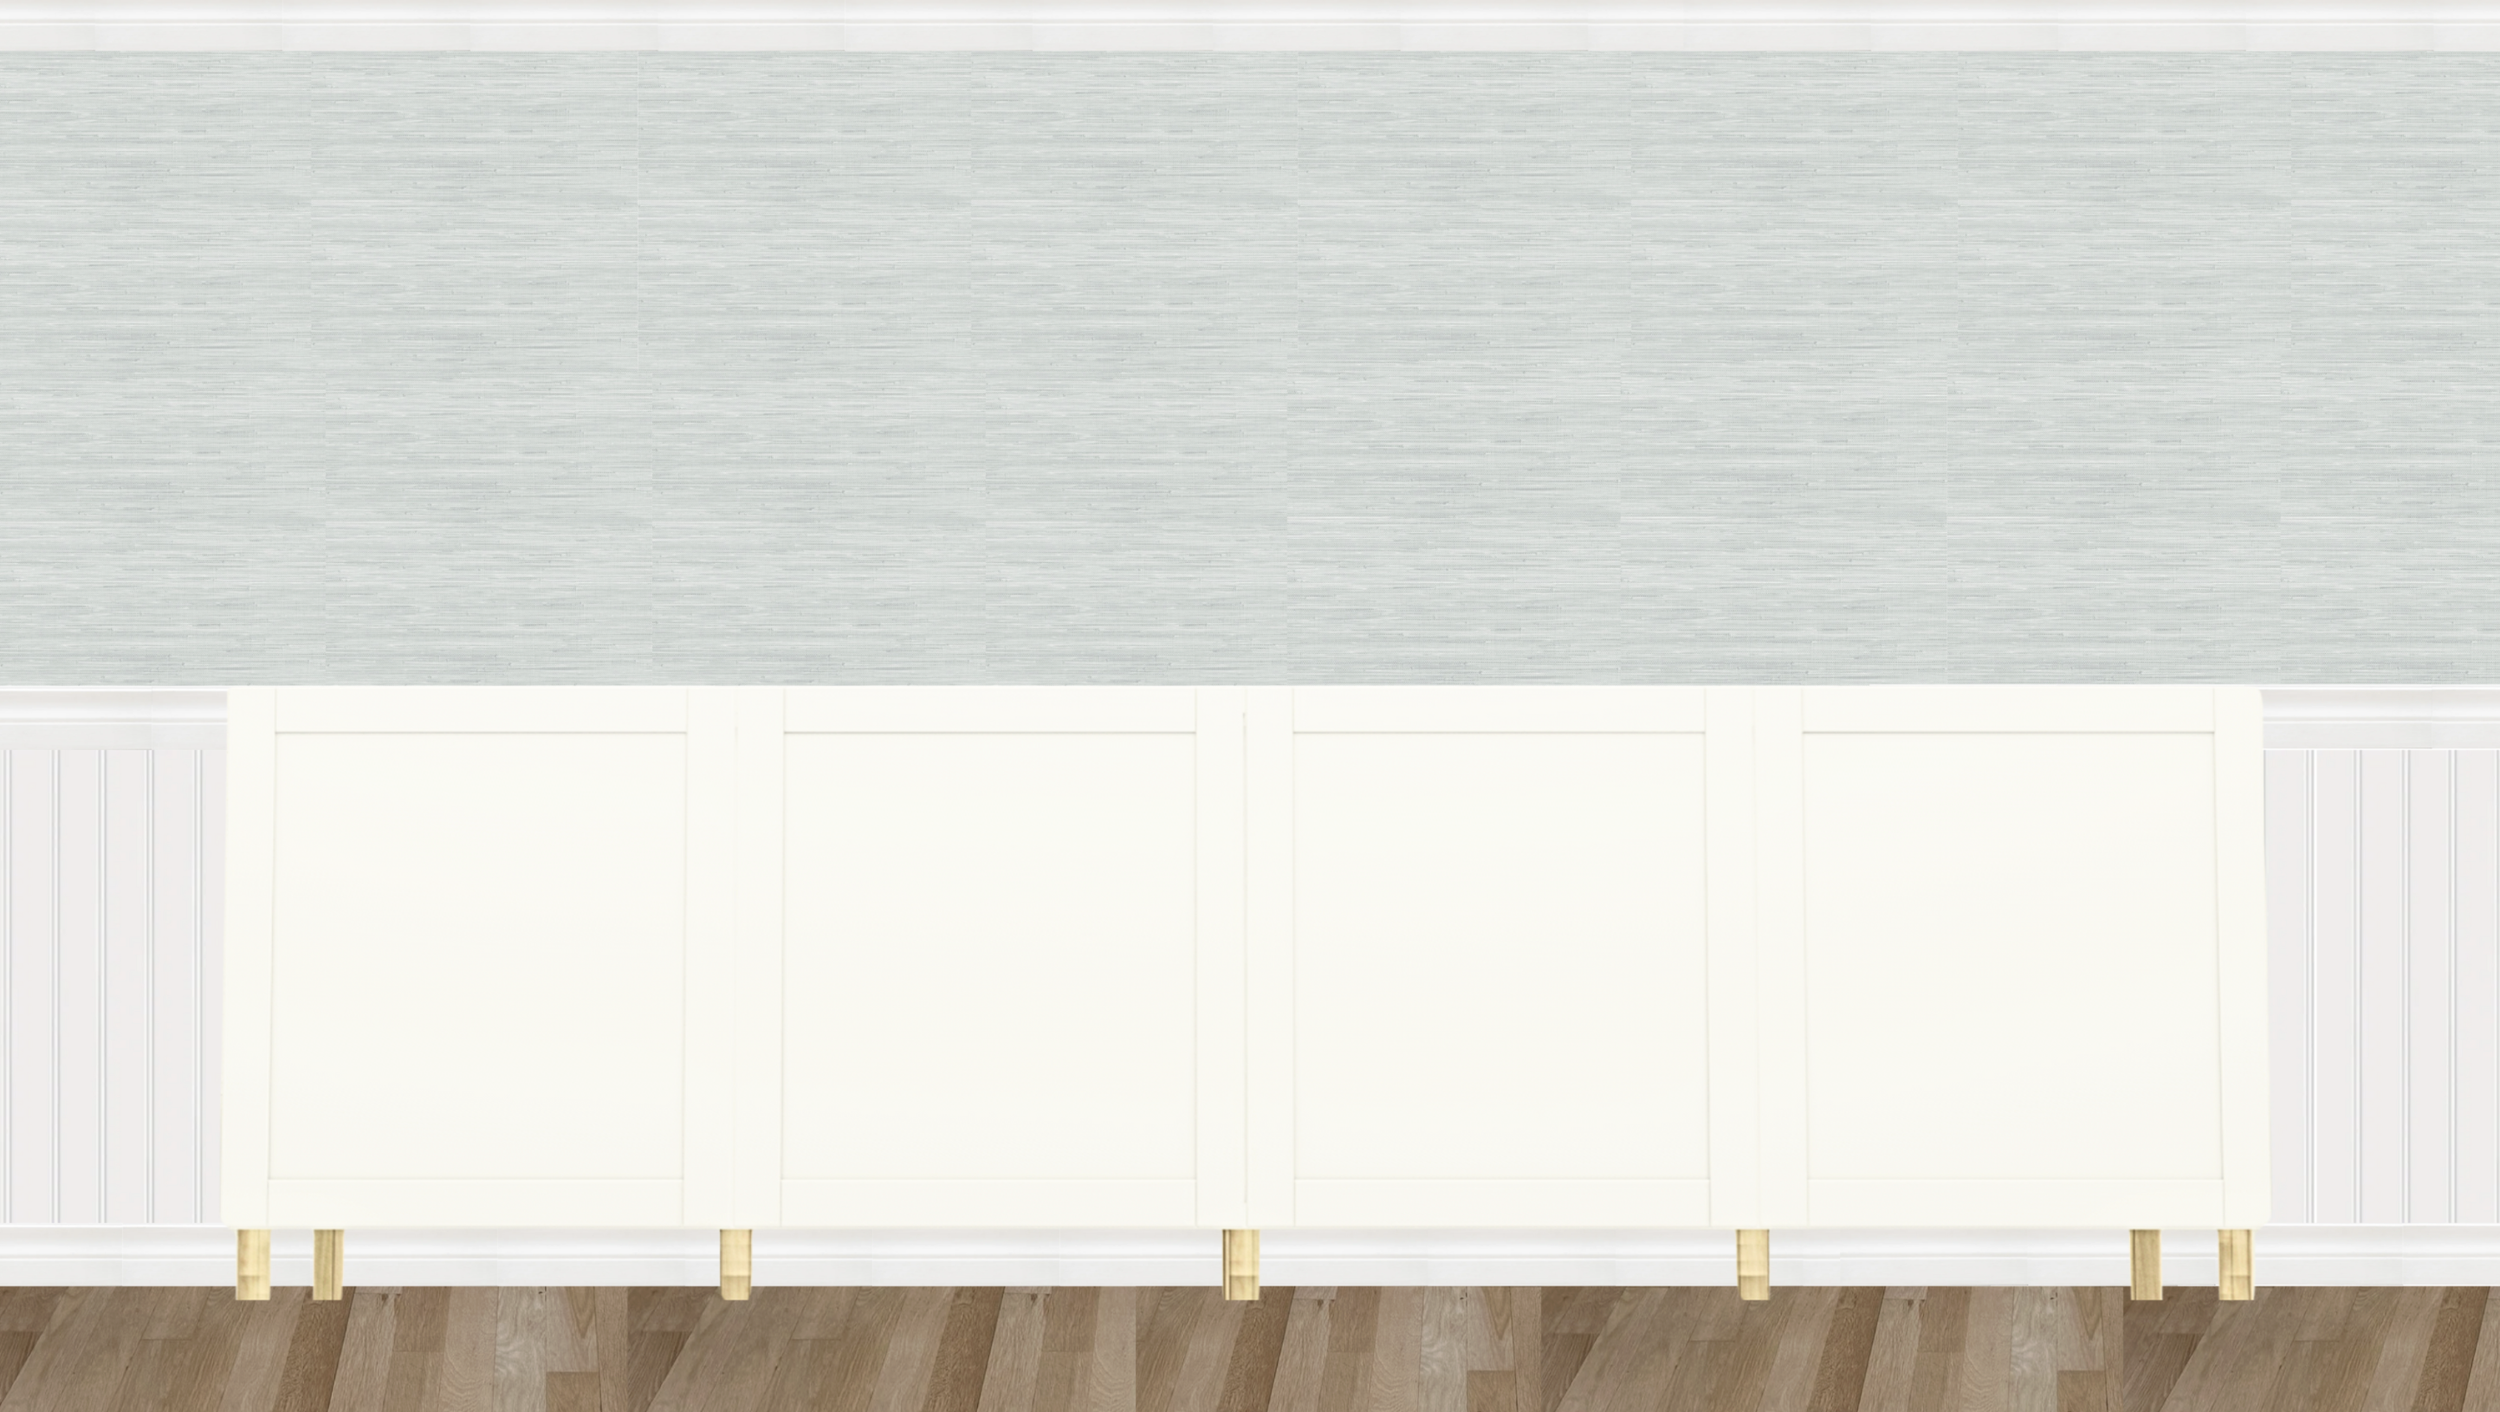
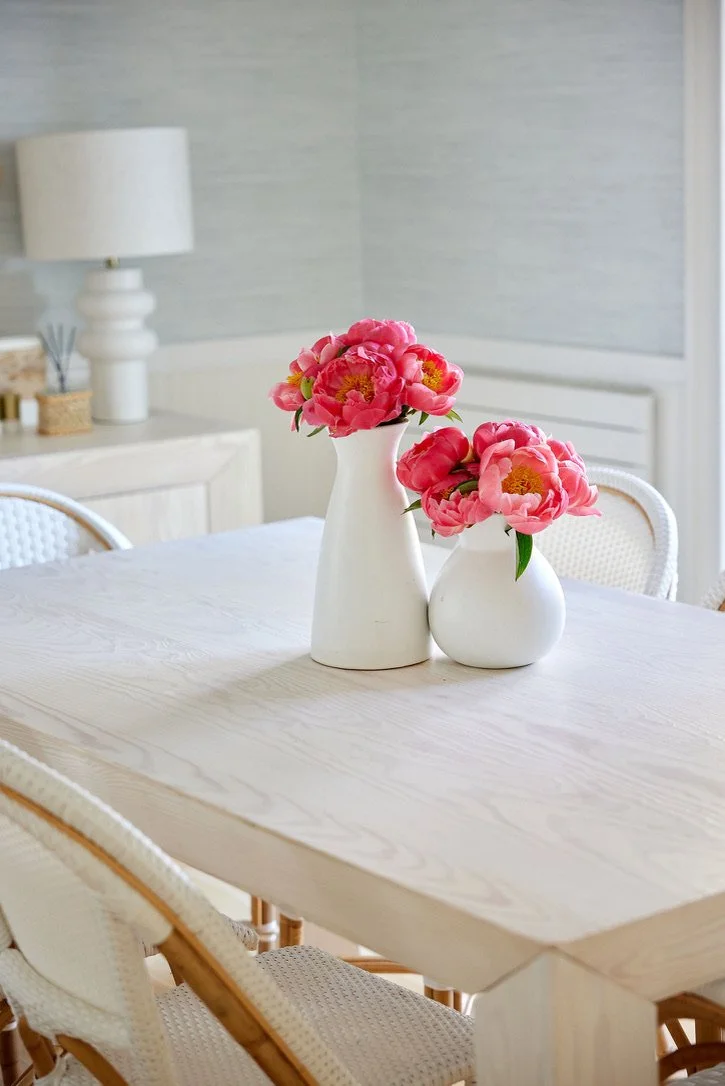
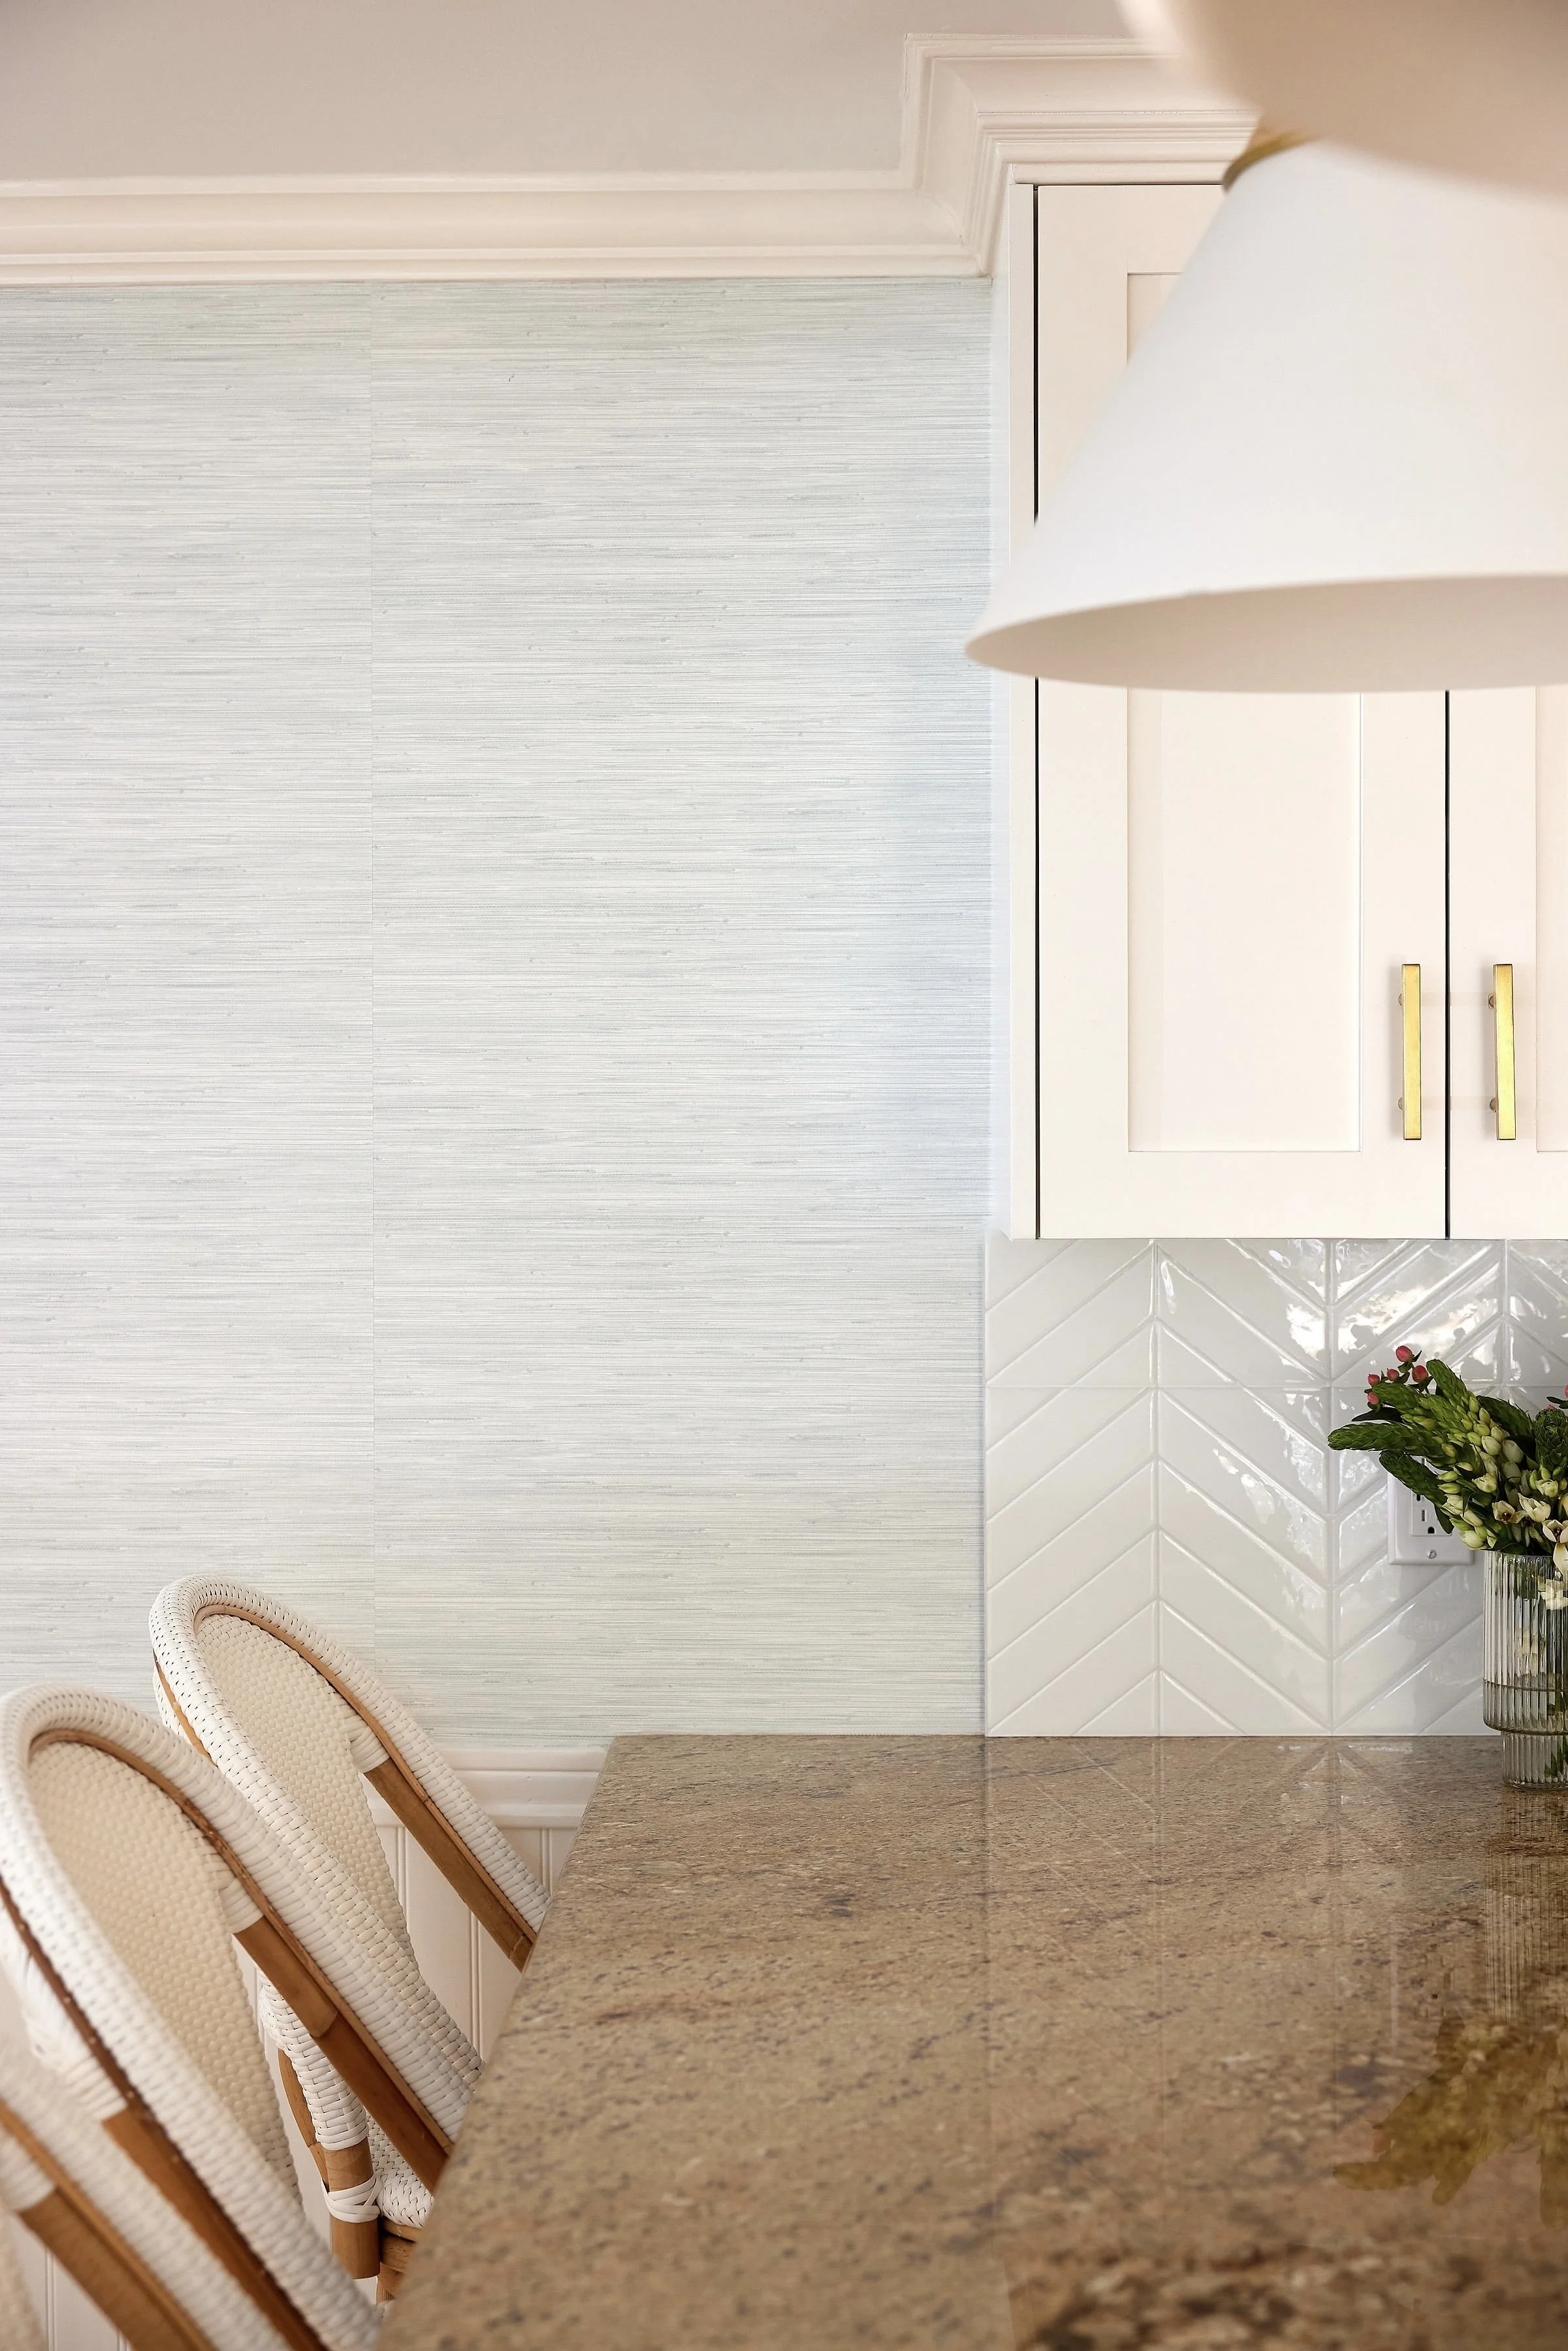
I chose a soft blue grasscloth from the NuWallpaper x Society Social collaboration for the dining area—a color that plays off the rest of the house and makes the space feel fresh and layered. Plus, the textured look helped hide any imperfections, which was a major win for a first-time peel-and-stick DIYer.
The transformation? Immediate. The space went from feeling temporary to intentional in a matter of hours.
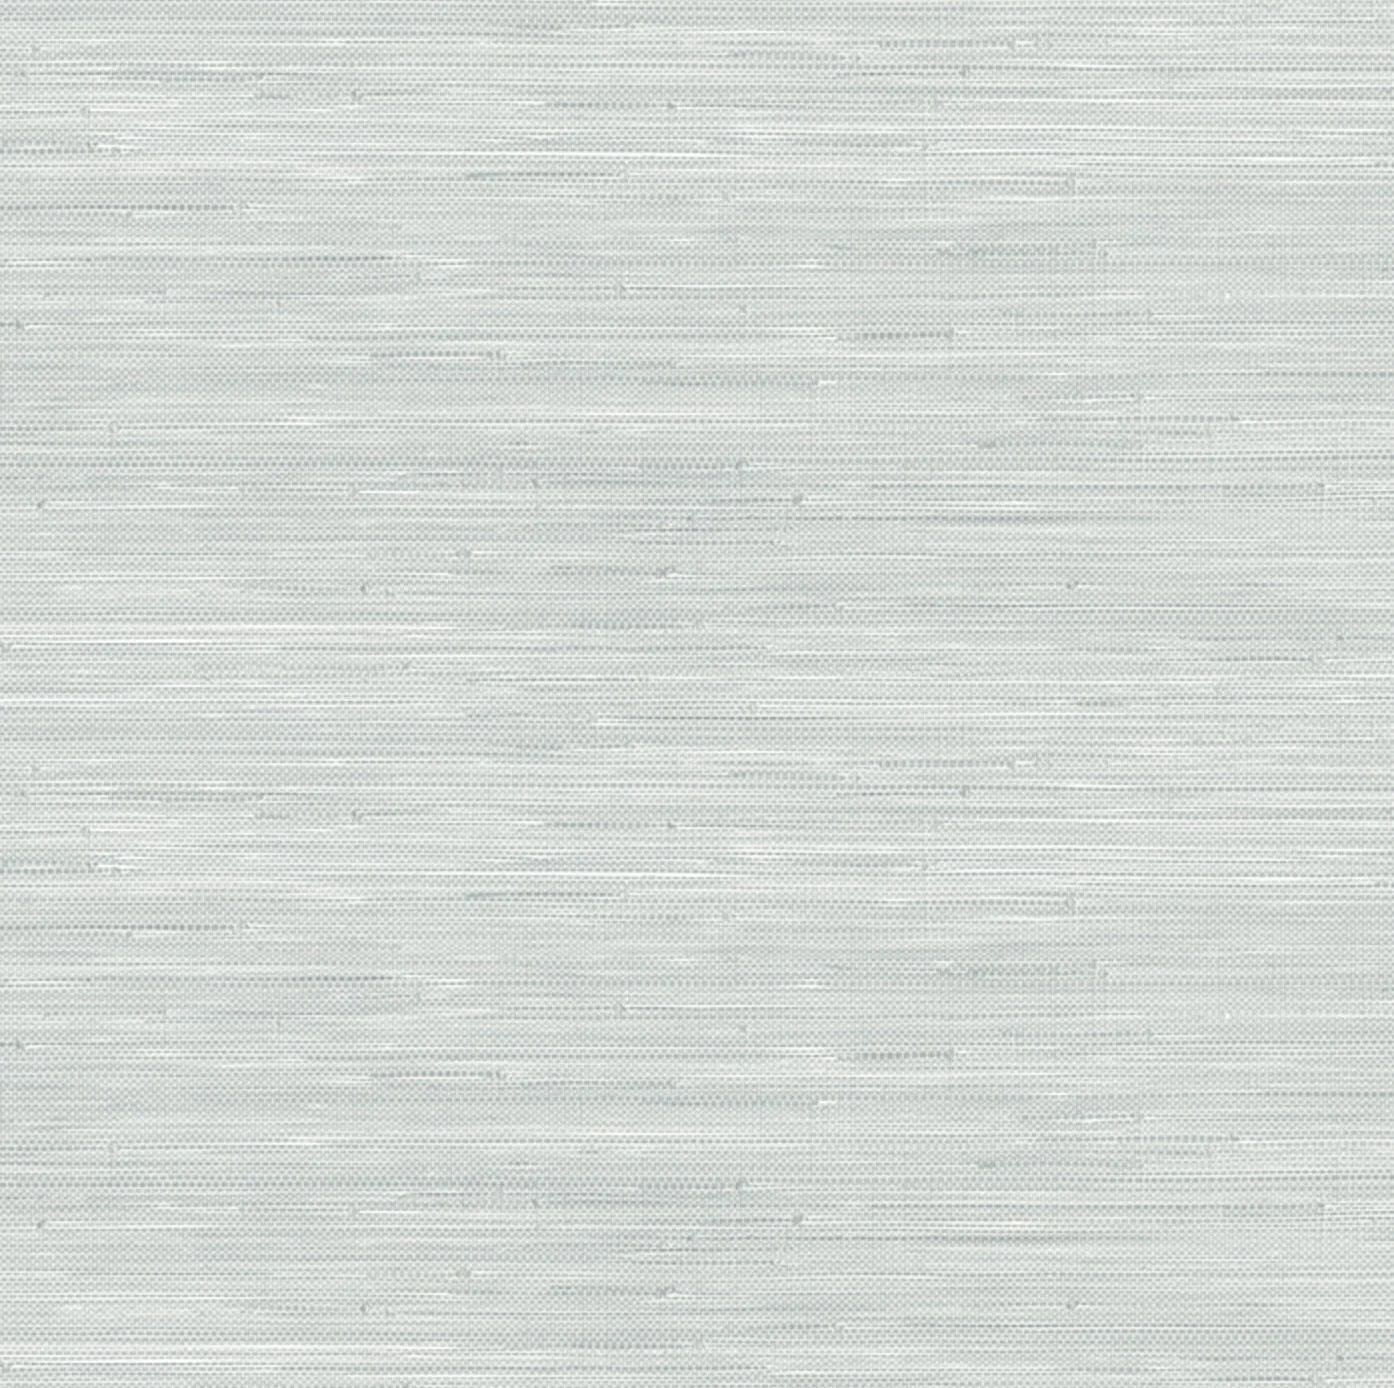
Society Social Peel & Stick Wallpaper
Foolproof, easy to install, and nobody will know it’s not the real thing. Color: Whisper Blue

Peel & Stick DIY: What You Need
Measuring Tape
Ruler (this really helps with cutting)
Craft or Utility Knife, with extra blades
Plastic Smoothing Tool
Peel & Stick: Tips from the Trenches
Not all peel-and-stick wallpaper is created equal. Different materials and finishes behave very differently during application — and some are far more forgiving than others. Here’s what I learned:
.01 Know your material.
My faux grasscloth had no pattern to match, which made alignment easy, but it was super thin and tended to stick to itself. Spoonflower’s thicker paper, on the other hand, was much easier to reposition and apply — and felt more like real wallpaper.
.02 Only peel back a little at a time.
Don’t remove the full backing all at once. Start with just a few inches and gradually peel as you smooth.
.03 Use a proper smoothing tool.
Not your hand. Not a credit card. An actual smoothing tool. Trust me, it makes a difference.
04. If you’re working with a pattern, budget more time.
Lining everything up just right takes patience (and a second set of hands wouldn’t hurt).
.05 Save your scraps.
You’ll need them for patching and touch-ups — or what I like to call "wallpaper surgery."
.06 Cut with care.
For thick wallpaper, I smoothed it into place and used a utility or craft knife (plus a straightedge) to trim at the molding. Blades dull quickly — replace them often.
.07 Order extra.
Especially with custom-printed wallpaper (like Spoonflower). If you need to reorder later, the colors might not match exactly.
pro tip for renters:
While peel-and-stick won’t destroy your walls like traditional wallpaper, it may pull up a bit of paint when removed. It’s a minor fix, but worth knowing.
Toolbox


KITCHEN HARDWARE
AFTER
BEFORE

Mehhhhhhh. We can do better.
And yes—I know the hardware isn’t totally straight, but I didn’t drill the original holes!
Upgrading the Hardware
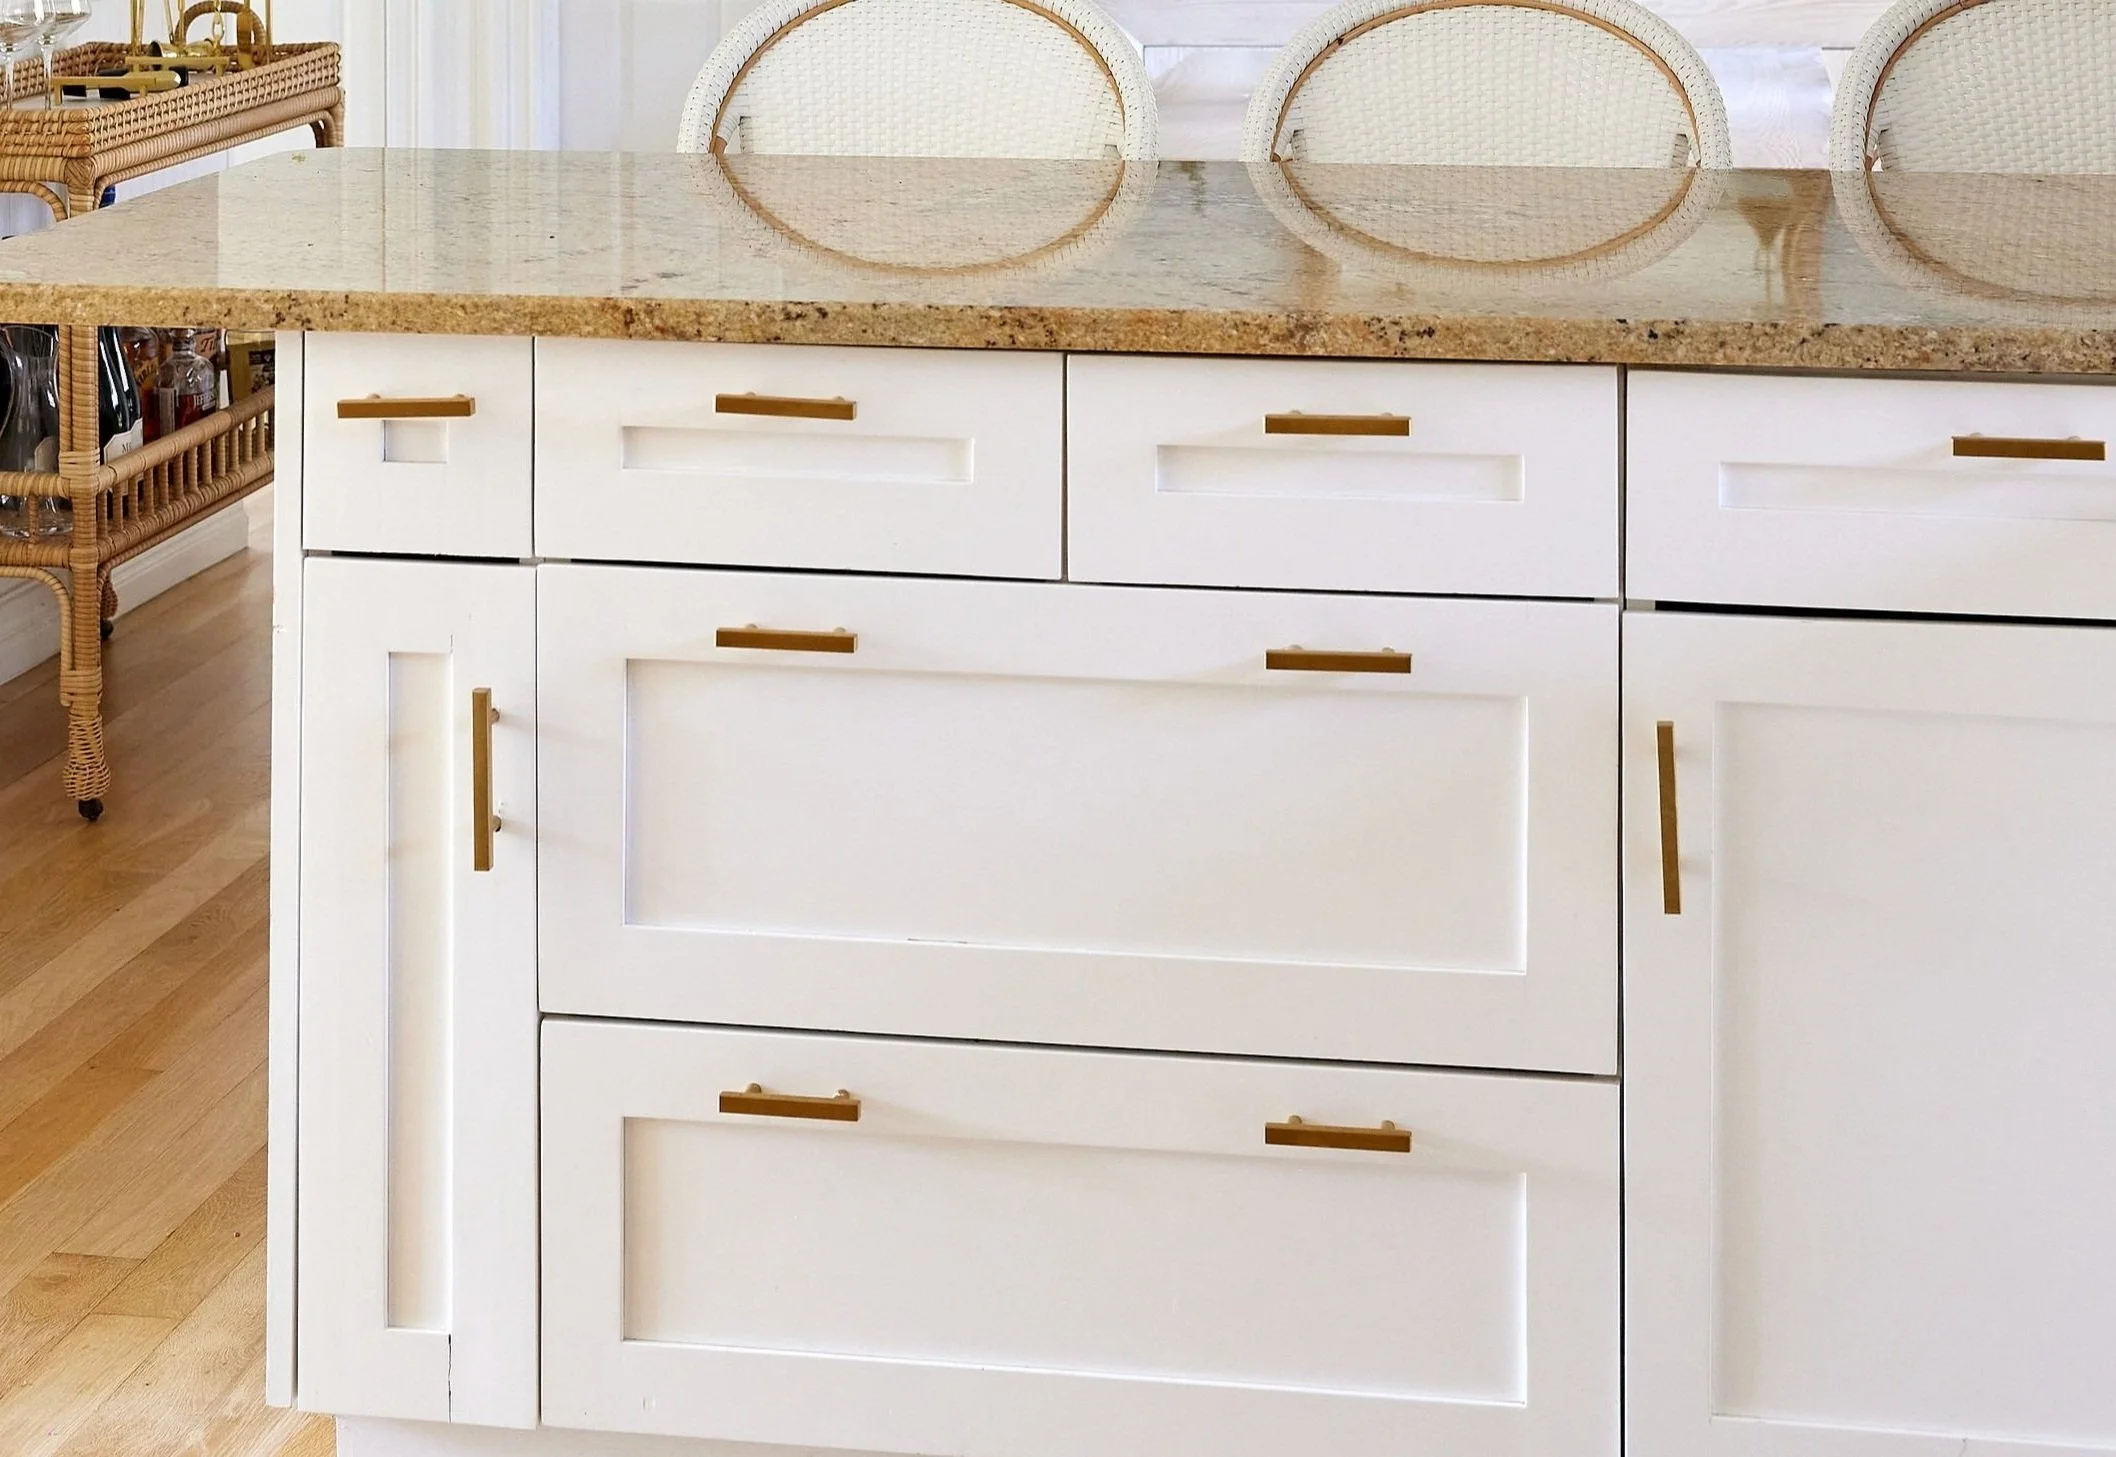
I couldn’t swap the cabinets, but I could update the knobs and pulls. The original silver-tone hardware was an outdated vibe and clashed with the warm countertops, so I swapped them out for sleek, brushed gold pulls that complemented both the countertop and wallpaper.
Super affordable (thank you, Amazon!)
Instantly modernized the space.
Rental-friendly.
TIP: store the old knobs in a labeled bag and swap them back when you move out.
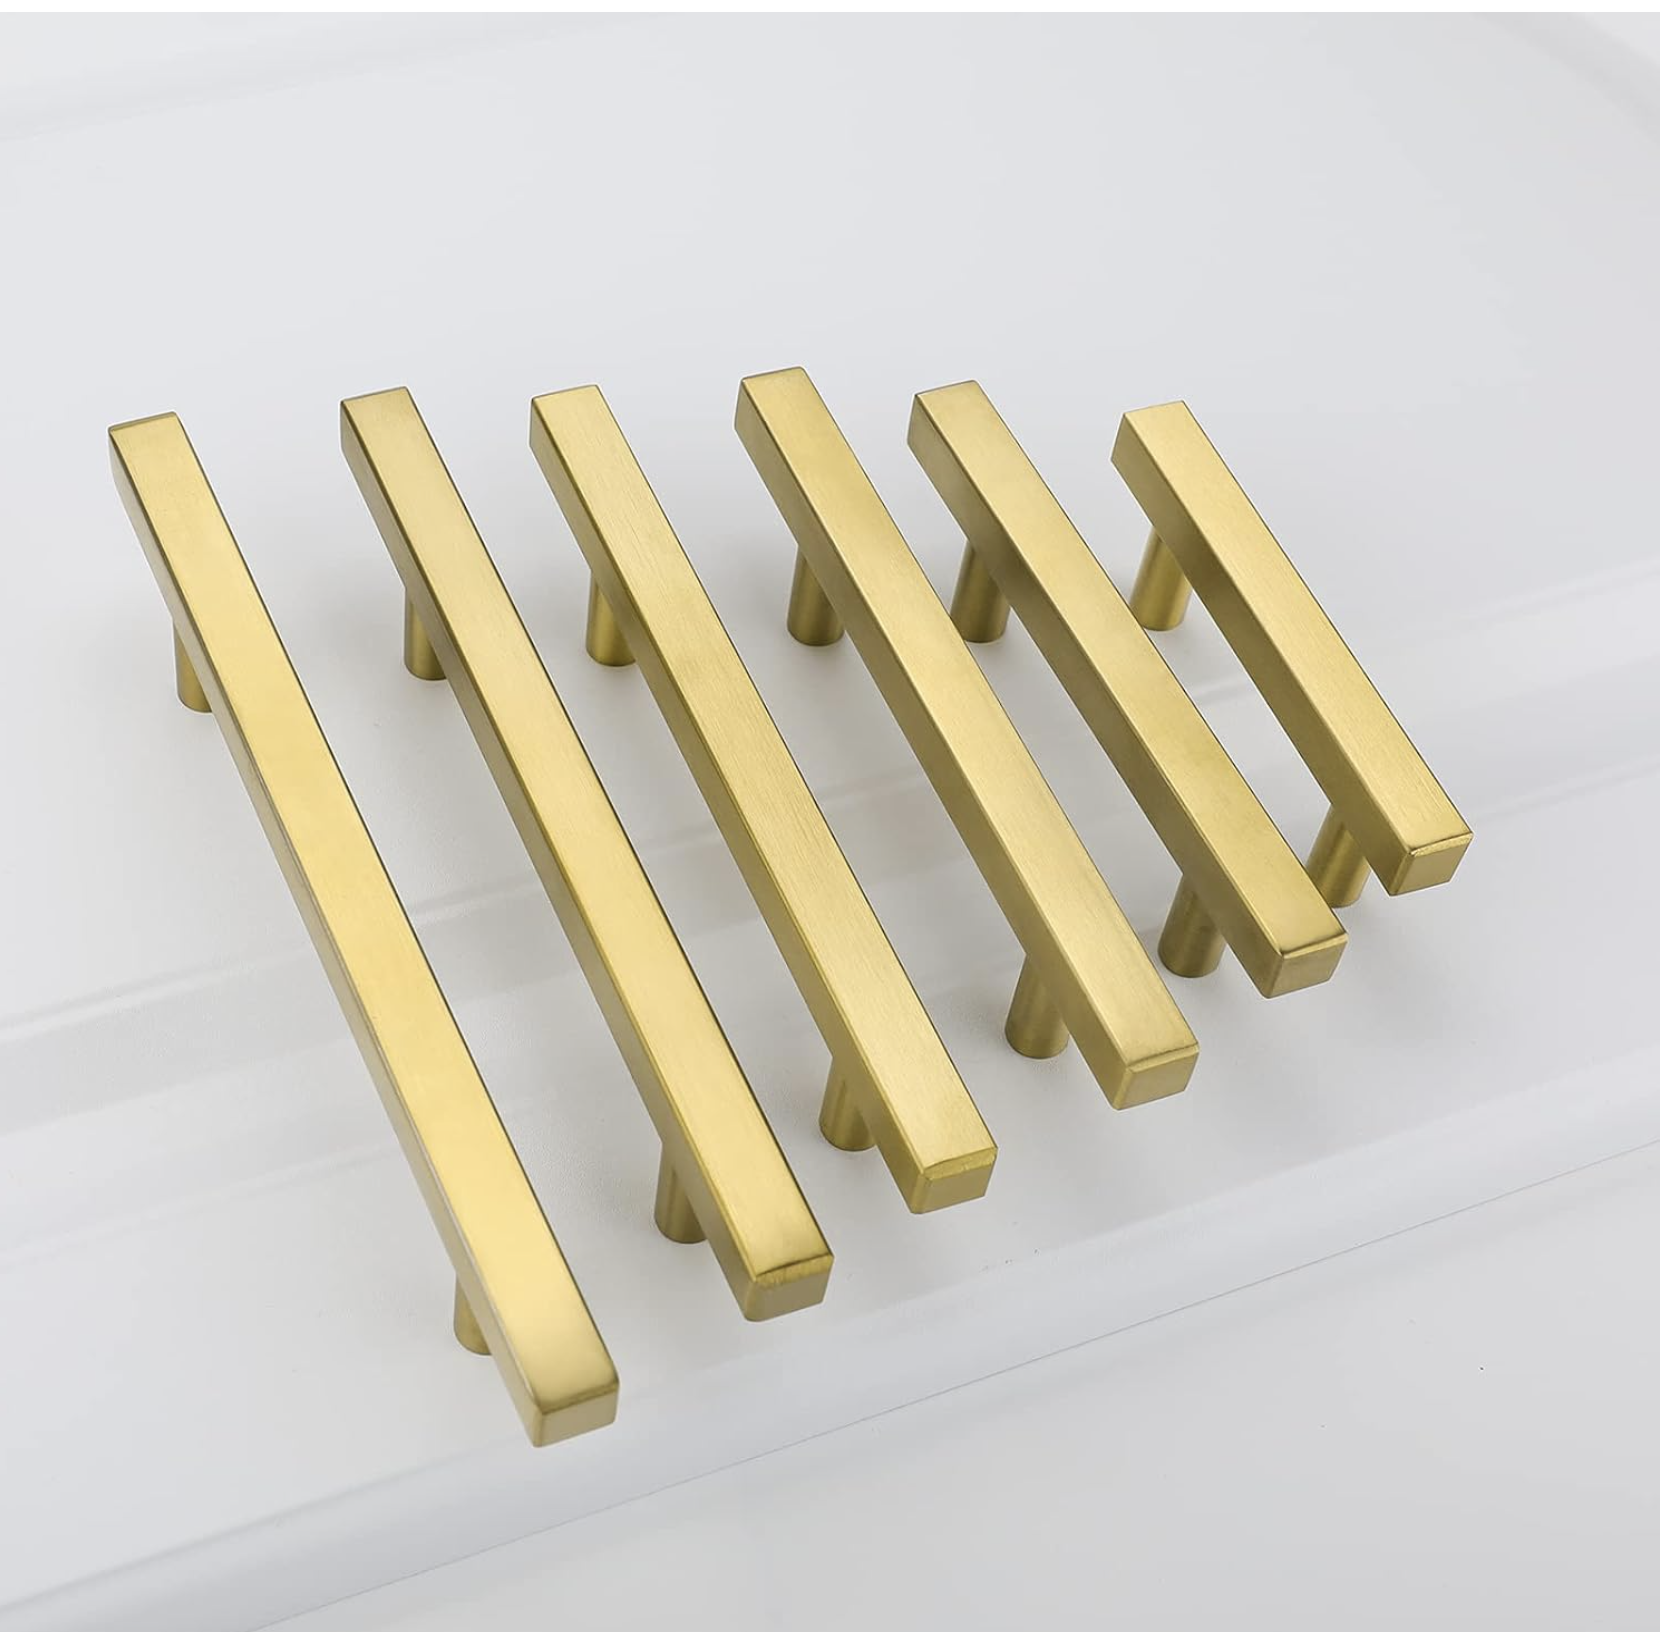
Brushed Brass Drawer Pulls
A luxe upgrade (at an Amazon pricepoint)? YES.
LIGHTING

Lighting: The Game Changer
The original lighting situation? Brutal. The recessed lights were so bright they may as well have been fluorescent—harsh, unflattering, and gave the whole kitchen a clinical, doctor's-office feel. And while there were spaces for pendant lights over the counter, they were empty, leaving the kitchen feeling cold, unfinished, and lacking any visual break between the kitchen and dining area.
At first, I tried to live with it. (Because, as AF Contracting explained, changing recessed lighting isn’t always as simple as swapping a bulb.) But I hated it. Walking into the kitchen at night felt like stepping onto a badly lit stage—way too intense for a space that’s supposed to feel warm and welcoming.
I swapped out the recessed lighting for a softer, warmer option, instantly transforming the mood of the kitchen. It went from clinical to cozy in one easy change.
I added Mitzi pendants by Meghan Molten over the counter, and when I say they changed everything, I mean it. Not only did they bring a much-needed design element, but they also created a natural division between the kitchen and dining area, making the space feel intentional and complete. And since I can take the pendants with me when we move, it felt like a worthy investment.
Full disclosure: I didn’t DIY this one. I had a contractor handle the electrical work—because while I love a good project, rewiring isn’t one I’m willing to mess with.

Mitzi x Meghan Molten Pendant
Stunner! These pendants really completed, and defined, the kitchen and dining room.
THE DETAILS


PEEL & STICK BACKSPLASH
Peel-and-Stick Backsplash: The Ultimate Kitchen Glow-Up
The existing backsplash wasn’t doing my kitchen any favors. It was the same tone as the granite countertops—meaning dark, flat, and uninspired. I love a bright, airy kitchen, and I knew that updating the backsplash would instantly lift the space, making it feel more modern, fresh, and high-end—without a permanent commitment.
Enter: Smart Tiles—chic, removable, and shockingly realistic. I chose a large white herringbone peel-and-stick tile to create a crisp, clean look that would brighten the space and add a subtle yet sophisticated pattern.
I’ve tried several other brands of peel and stick tile. Smart Tiles is BY FAR the easiest to work with, because you can take it off and reposition it. Other brands I tried were a much more “stick this on and it is not going anywhere” type of application. I HIGHLY recommend Smart Tiles, especially if you are doing this without any help.

Smart Tiles Peel & Stick Herringbone Backsplash
The best, and truly simple to reposition or remove.
From Temporary to Intentional
None of these upgrades cost a fortune—or required permits, special equipment, or a full renovation plan. But every single one helped turn a space that felt like a placeholder into a place that feels like home. It’s still a rental—but now it reflects our style, our needs, and most importantly, us.
You don’t need a forever home to create a space you love. You just need a game plan, a few smart swaps, and the confidence to get started.
Stay tuned for more from the Blue Bungalow series—there’s plenty more to show you!
Love Where You Live. xx Meredith
All photos by the talented Julia D’Agostino